
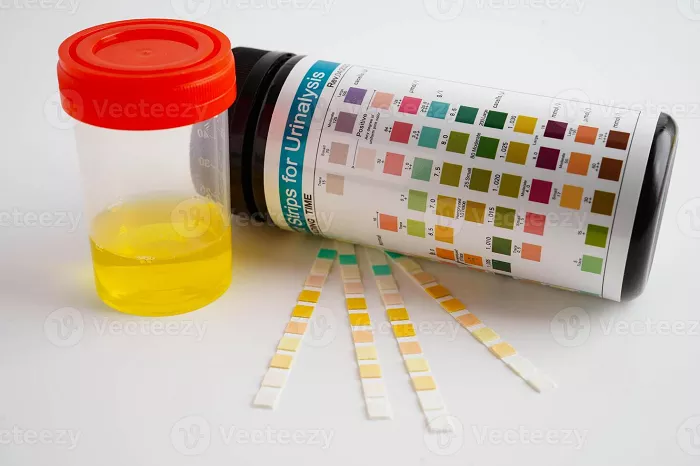
Diabetes test strips are essential tools for individuals managing diabetes, providing a simple and effective method to monitor blood glucose levels, also known as blood sugar. Understanding your blood sugar levels is crucial for controlling the disease, as it empowers you to make informed decisions about your diet, medication, and physical activity.
By regularly checking your glucose, you can identify patterns and learn how different foods, medications, and activities positively or negatively impact your levels. This ongoing monitoring is a cornerstone of modern diabetes care, allowing for proactive management rather than reactive responses to blood sugar fluctuations.
Step-by-Step Procedure for Accurate Blood Glucose Testing
The process of using a diabetes test strip is straightforward but requires precision for accurate results. First, you insert a fresh test strip into your glucose meter, which activates the device. Next, you use a small, fine needle called a lancet, which is loaded into a lancing device, to prick the side of your fingertip to obtain a small drop of blood.
After gently squeezing your finger to form a blood droplet, you carefully touch the edge of the test strip to the blood, allowing it to be drawn into the strip through capillary action. Within a few seconds, the meter processes the sample and displays your blood glucose reading on its screen. It is vital to use a new strip for each test, as they are designed for single use only.
The Advanced Technology and Chemistry Behind Test Strips
The technology packed into a small test strip is remarkable. Each plastic strip is coated with a thin layer of gold that is etched into a specific pattern, forming the strip’s electrical circuit. The other critical component is a carefully formulated chemical layer located at the testing end of the strip.
This layer acts like a tiny sponge, absorbing the blood sample. The chemicals then react with the glucose in the blood, initiating an electrochemical reaction that generates a small electrical current. The strength of this electrical current is directly proportional to the amount of glucose in your blood sample. This signal is transmitted via the gold circuit to the meter, which calculates and displays your blood glucose level.
Guidelines for Purchasing and Managing Test Strip Costs
Diabetes test strips are widely available at pharmacies, medical supply stores, and online retailers. However, the cost can be a significant ongoing expense for many individuals. To help manage these costs, there are several strategies you can employ. Actively look for coupons in diabetes magazines and pharmacy flyers, or sign up for newsletters from manufacturers.
Consider contacting diabetes supply companies directly, as they may offer free samples or patient assistance programs. Opting for generic or store-brand strips, which are often more affordable than name brands, can also lead to substantial savings. Additionally, some diabetes support organizations may provide resources or programs to help those in need obtain necessary supplies.
Understanding and Ensuring the Accuracy of Your Results
The accuracy of blood glucose meters and test strips has been a topic of ongoing research and regulatory improvement. Studies have shown that accuracy can vary between different monitoring systems. To ensure reliability, the U.S. Food and Drug Administration (FDA) now mandates that new blood glucose meters must produce results within 15 percent of laboratory values 95 percent of the time.
To maximize the accuracy of your own tests, always use strips that are not damaged and check the expiration date before use. Store strips in their original container away from extreme heat, moisture, and humidity. Crucially, ensure you are using the correct brand and model of strip designed specifically for your meter, as using incompatible strips will yield inaccurate or no results.
Essential Tips for Proper Storage, Handling, and Troubleshooting
Proper handling and storage are paramount for obtaining reliable readings from your test strips. Common sources of error include using expired strips, exposing strips to heat or humidity, and using strips designed for a different meter. Many meters require coding or calibration with each new box of strips, so always follow the manufacturer’s instructions.
Other factors that can skew results include having a dirty meter, testing with unwashed hands, having insufficient blood on the strip, testing with wet fingers, and exposure to extreme temperatures. To verify your meter’s accuracy, periodically test it using a control solution, which should be used within three months of opening. By following these guidelines, you can trust the data your meter provides for effective diabetes management.
Related topics:
